Homeowners across our region call us with the same worry every winter: a radon test came back high, and now what? It is a fair question. Most people have no idea what happens between finding a problem and fixing it.
That gap is where confusion lives. We spend most of our time explaining things in plain language rather than technical shorthand. This post walks through a real radon system service visit from start to finish. You will know exactly what to expect before we knock on your door.
Why This Process Actually Matters
Radon is invisible and odorless. Many homeowners underestimate it until a test result makes their stomach drop.
A proper service process is not just about installing equipment and walking away. It requires understanding your home’s specific soil conditions, foundation type, and existing heating and ventilation. Skipping steps or rushing through an inspection often leads to an underperforming system. That wastes your money and your peace of mind.
Step 1: The Initial Home Inspection
We start every job with a full walkthrough of the property. We check the foundation type, crawl spaces, sump pits, and existing mitigation equipment.
Older homes often have unique quirks. These include cracks in unexpected corners or old systems installed decades ago that were never maintained. We note every detail. Small factors shape the entire mitigation plan. Missing even one can throw off the whole approach.
Step 2: Testing and Measurement
Once the inspection is done, we run short-term and or long-term radon testing. The choice depends on what your home needs and how quickly you want results. Usually, short and long term (7 or more days) testing yields the most helpful data.
This step gives us real numbers instead of guesswork. It tells us whether we are dealing with a mild issue or an immediate hazard. We always explain the results in a way that makes sense. You get no jargon and no vague charts.
Step 3: Diagnosing the Existing System
If there is already a mitigation system in the home, we check every component. Simply stated this is what we typically evaluate:
Fan condition: We check the noise level, as a struggling fan often hums louder or vibrates.
Pipe connections: We inspect seals for cracks or gaps that let air escape.
Suction points: We confirm they are still pulling air properly from under the concrete slab.
Manometer reading: This tells us whether the system is creating the necessary negative pressure.
We work off a 52 Point Radon System Inspection and Evaluation Checklist developed from 30+ years’ experience. This diagnosis often reveals that a full system overhaul is unnecessary. Sometimes, one worn component is dragging the whole system down.
Step 4: Repair or Fan Replacement
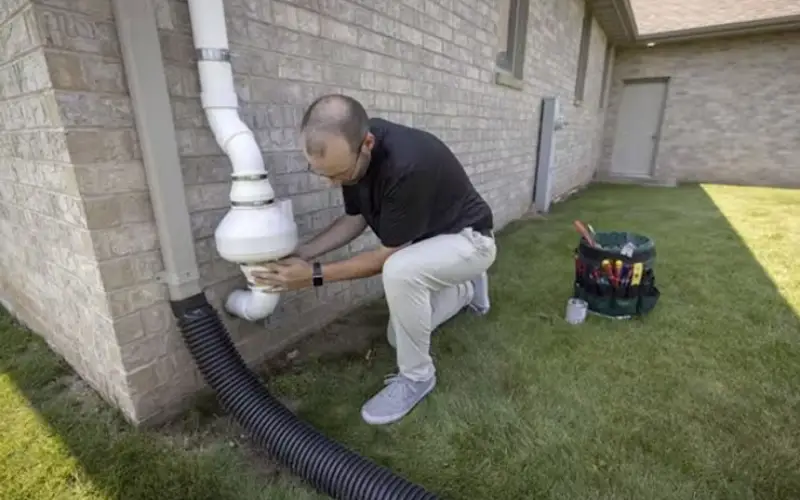
This stage is where the real decisions are made. If the fan motor is weak, overheating, or old, we recommend a targeted fix. We specialize in radon fan replacement in central New York as a cost-effective alternative to tearing out an entire system.
A tired fan makes a solid system look like it is failing. It just needs a stronger, quieter motor. We have seen homes where a thirty-minute fan swap brought radon levels down almost immediately because the old unit had been struggling for years unnoticed.
Step 5: Verification and Ongoing Monitoring
After any repair or fan replacement, we offer unbiased third-party radon testing through a NY certified laboratory to confirmation the numbers have dropped. A fix that is not verified is not a true fix.
It’s important to monitor the radon level year by year for peace of mind. We offer professional radon monitoring services in central New York. The US EPA recommends homeowners retest radon every two years to confirm your radon mitigation system is working and levels remain low. Better to keep an eye on levels over time instead of relying on a single past test result. Radon levels shift with seasons, soil moisture, and daily home use. Ongoing awareness matters more than most people realize.
Conclusion
If your last test result left you uneasy, or if you suspect your current system is failing, don’t wait. At A Best Radon Systems, we handle everything from the first inspection to ongoing radon monitoring services in central New York. We treat your home with the kind of care we give to our own.
Visit us at abestradonsystems.com or message us today 315-439-1103 to get your indoor air back to safety.